Introduction: Installing a vault door is an excellent way to enhance the security of your home or business and safeguard your valuables, firearms, and important documents. While the idea of installing a vault door might seem daunting at first, with the right tools and guidance, it’s a manageable DIY project. In this step-by-step guide, we’ll walk you through the process of installing a vault door, empowering beginners to tackle this task with confidence.
- Gather Necessary Tools and Materials:
- Before you begin, gather the tools and materials you’ll need for the installation. This typically includes a drill, hammer, level, screwdriver, bolts or lag screws, and a pry bar.
- Choose the Location:
- Select a suitable location for the vault door, preferably in an interior room or closet with enough space for the door to swing open freely.
- Ensure the surrounding walls are structurally sound and capable of supporting the weight of the vault door.
- Prepare the Opening:
- Measure the dimensions of the vault door opening carefully, ensuring it matches the specifications provided by the manufacturer.
- Remove any obstructions or debris from the opening, ensuring it is clean and free of obstacles.
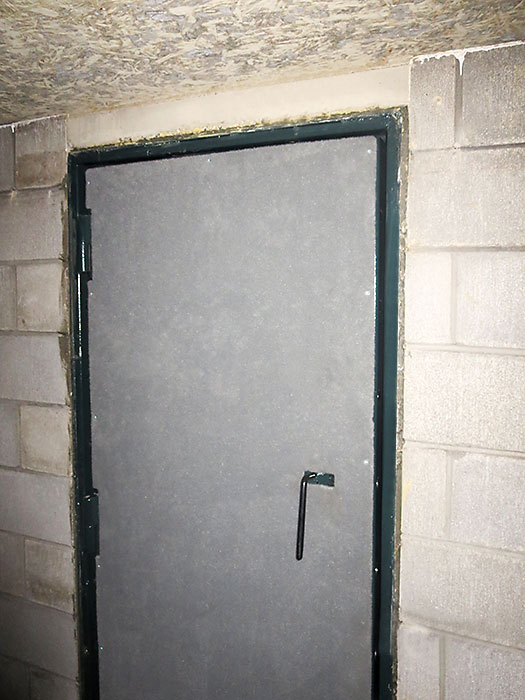
- Position the Vault Door:
- Place the vault door into the opening, ensuring it is centered and level.
- Use shims or spacers to adjust the position of the door as needed, ensuring it fits snugly within the opening.
- Secure the Door Frame:
- Attach the door frame to the surrounding walls using bolts or lag screws, ensuring it is securely anchored in place.
- Use a level to ensure the door frame is plumb and level on all sides before tightening the bolts or screws.
- Install the Hinges and Door:
- Attach the hinges to the door frame and the vault door, following the manufacturer’s instructions carefully.
- Carefully lift the door into place, ensuring it aligns with the hinges and swings open and closed smoothly.
- Test the Locking Mechanism:
- Test the locking mechanism to ensure it engages properly and securely.
- Adjust the strike plate or locking bolts as needed to ensure a tight seal when the door is closed and locked.
- Final Adjustments:
- Make any final adjustments to the door and frame, ensuring everything is aligned and functioning correctly.
- Seal any gaps around the door frame with caulk or weatherstripping to prevent air leaks and improve security.
- Secure the Door:
- Once everything is in place, securely fasten the door to the frame using the provided locking bolts or mechanisms.
- Test the door one final time to ensure it opens and closes smoothly and locks securely.
Conclusion: Installing a vault door is a rewarding project that enhances the security of your home or business and provides peace of mind knowing your valuables are safely protected. By following this step-by-step guide, beginners can confidently tackle the installation process and enjoy the added security and convenience that a vault door provides. Remember to take your time, follow the manufacturer’s instructions carefully, and seek assistance if needed to ensure a successful installation.